Opens in a new tab

Easy No-Bake Cheesecake: A Dream Dessert for Busy Parents

TOTAL TIME
SERVES
COURSE
DIFFICULTY
Tested5× before publishing

Hey friends! I know how it goes. You’re trying to get a decent dinner on the table, maybe help with homework, and then suddenly, the craving for something sweet hits. But who has time for complicated baking projects, especially when it involves turning on the oven for ages? That’s why I’m so excited to share my go-to **easy no bake cheesecake** recipe with you all. Seriously, this one is a lifesaver!

I’ve made this cheesecake countless times, tweaking it just right, and it always gets rave reviews. It’s got that perfect creamy texture, a lovely tangy sweetness, and a buttery graham cracker crust that holds up beautifully. Plus, you can make it ahead, which is a HUGE win for busy weeks. Get ready to add this one to your dessert rotation because it truly makes sweet cravings simple.

Getting That Perfect Graham Cracker Crust

A good no-bake cheesecake starts with a stellar crust, right? For this one, we’re using honey graham crackers, and the key is getting them super fine. Don’t just crush them roughly; you want a texture like beach sand, not pebbles. I toss mine into a food processor and let it run for about a minute. If you don’t have one, pop them into a sturdy zip-top bag and smash them with a rolling pin – it’s a great stress reliever! Once they’re powdery, we stir in a little brown sugar for extra depth and, of course, melted salted butter. The salted butter really balances the sweetness and adds a wonderful richness that you’ll notice in every bite.

When you mix in the butter, you’re looking for a consistency that clumps together when you squeeze it but also still looks crumbly. It shouldn’t be swimming in butter, but every crumb needs to be coated. The next crucial step is packing it into your pie plate. Use a flat-bottomed measuring cup or a sturdy glass to really press those crumbs down. Start in the center and work your way out, pushing the mixture up the sides of the plate evenly. This creates a solid foundation for your creamy filling and prevents it from crumbling when you cut into it. A few minutes in the freezer firms it up while you get the filling ready, ensuring a crisp separation when you serve. This step isn’t just about making it pretty; it truly makes the crust structurally sound and delicious.

Crafting the Cloud-Like Cheesecake Filling

Now for the star of the show: the filling! This is where the “no-bake” magic truly happens, and it’s surprisingly simple. First, you’ll whip heavy cream and powdered sugar to stiff peaks. This means when you lift your beaters, the cream stands straight up and doesn’t flop over. Cold cream whips best, so keep it in the fridge until you’re ready to use it. Over-whipping can turn it grainy, so stop as soon as those peaks hold their shape. This whipped cream provides the essential airiness and lightness to the cheesecake, making it feel decadent without being overly heavy. You’ll definitely want to get this right for the best texture.

In a separate bowl, you’ll combine room-temperature cream cheese, non-fat Greek yogurt, and vanilla extract. Room temperature cream cheese is non-negotiable here! If it’s cold, you’ll end up with lumps, no matter how long you whip it. The Greek yogurt adds a lovely tang that cuts through the richness of the cream cheese, and the vanilla extract, well, it’s just pure comfort. Whip this mixture until it’s super smooth and creamy. Then, the folding part: gently incorporate the whipped cream into the cream cheese mixture. Do this in two additions, using a spatula to fold rather than vigorously stir. This preserves all that lovely air you just whipped into the cream, giving your cheesecake its signature light, fluffy, yet rich texture. Don’t rush it; gentle folding ensures a consistent, airy filling.

Making Your Easy No-Bake Cheesecake a Success

Once your beautiful, airy filling is ready, it’s time to spoon it into that chilled graham cracker crust. Try to get it in there without squishing the crust too much. Once it’s all in, I have a little trick for you: gently lift the pie plate an inch or so off the counter and then just drop it a few times. Don’t slam it, just a gentle tap-down. This helps release any trapped air bubbles inside the filling, which can sometimes leave holes or an uneven texture. It also helps the filling settle uniformly, giving you a smooth, professional-looking top. Then, a quick smoothing with a spatula, and you’re almost done!

The waiting game is the hardest part, I know! This **easy no bake cheesecake** needs at least 6 hours in the fridge to fully set up. Overnight is even better if you can manage it. The chill time allows all the ingredients to firm up and meld together, transforming it from a creamy mixture into a sliceable, stable cheesecake. To prevent any weird skin from forming on top, press a layer of plastic wrap directly onto the surface of the filling before covering the whole thing with foil. When it’s time to serve, if you find your crust is clinging to the pie plate a bit, a warm, damp dish towel placed under the plate for a minute will work wonders to loosen it right up. You’ll be slicing through it like a dream, and everyone will be impressed by this effortlessly elegant dessert!
AD — Mediavine Content 300×250 / Responsive

Why This Recipe Works

This no-bake cheesecake works its magic through a combination of ingredients that stabilize without heat. The high fat content in the cream cheese and heavy cream provides a rich, creamy base that firms up significantly when chilled. Whipping the cream creates tiny air pockets that give the filling its airy, cloud-like texture. The gelatin-like properties of the dairy proteins, especially with the addition of Greek yogurt, help the mixture set into a sliceable form after extended refrigeration, meaning no ovens needed!

This cheesecake is proof that you don't need to turn on the oven to create something truly delicious and impressive.— Charlotte
AD — Mediavine Native / 728×90 Leaderboard

Prep 15 minutesCook 0 minutesYield 8 servings
Ingredients
  • 10 ounces honey graham crackers (about 2 cups crushed)
  • 10 tablespoons salted butter, melted
  • 2 tablespoons brown sugar
  • 1 cup heavy whipping cream
  • 1 cup powdered sugar
  • 2 8-ounce blocks cream cheese, softened to room temperature
  • 5 ounces non-fat Greek yogurt
  • 1 teaspoon vanilla extract
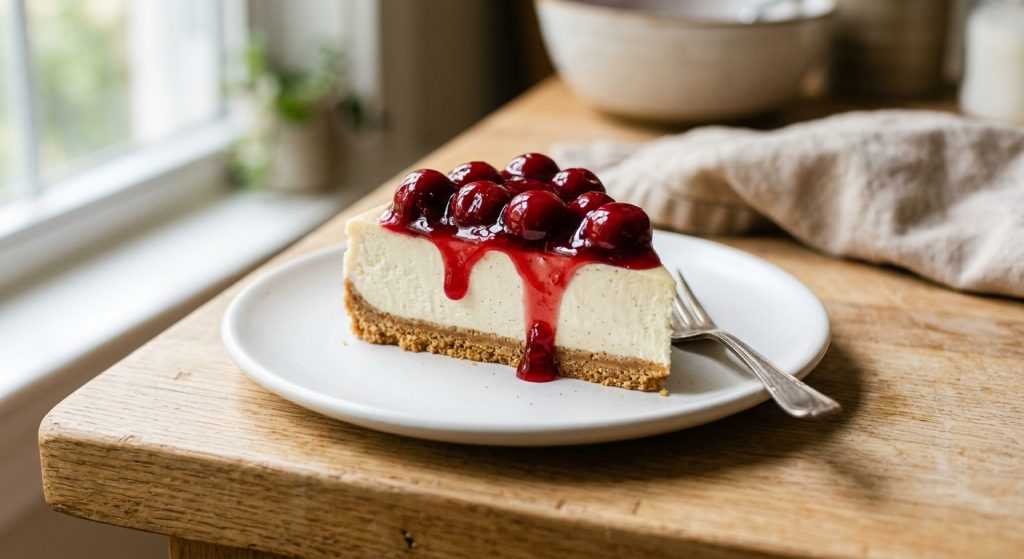
  • 2 cups cherry sauce (or other fruit topping, optional)
Instructions
  1. For the Crust: In a food processor or blender, pulse the graham crackers until they form a fine, sand-like powder. Transfer the crumbs to a medium bowl.
  2. Stir the brown sugar into the graham cracker crumbs. Pour the melted butter over the crumb mixture. Use your hands or a fork to mix everything together until the crumbs are evenly moistened and resemble wet sand.
  3. Press the crumb mixture firmly into the bottom and up the sides of a 9.5-inch pie plate. I like to use the bottom of a flat measuring cup to really pack it in tight and smooth out the edges. Place the prepared crust into the freezer while you prepare the filling.
  4. For the Filling: In a large bowl, using an electric mixer, whip the heavy whipping cream and powdered sugar together on high speed until stiff peaks form. Set this aside.
  5. In a separate, clean bowl, whip the room-temperature cream cheese, Greek yogurt, and vanilla extract together until the mixture is completely smooth, light, and creamy with no lumps.
  6. Gently fold about half of the whipped cream into the cream cheese mixture using a spatula. Mix until just combined, being careful not to deflate the whipped cream. Repeat with the remaining whipped cream until the filling is uniformly smooth and fluffy.
  7. Carefully spoon the filling into your chilled graham cracker crust. Lift the pie plate about a quarter-inch off the counter and gently drop it a few times. This helps release any large air bubbles and settle the filling. Use a spatula or the back of a spoon to smooth out the top.
  8. Cover the cheesecake with plastic wrap, pressing it directly onto the surface of the filling to prevent a skin from forming. Then, cover the entire pie plate with aluminum foil. Refrigerate for at least 6 hours, or ideally overnight, until the cheesecake is completely set and firm.
  9. To serve, enjoy plain or spoon your favorite fruit sauce, like cherry sauce, over each slice. If you find the crust is sticking to your pie plate, you can wet a dish towel with hot water, wring it out, and place the pie plate on top of it for about a minute to gently warm and loosen the crust.
Tested Tip

When folding the whipped cream into the cream cheese mixture, be super gentle! Use a spatula and scoop from the bottom up. This keeps all that lovely air you whipped into the cream, ensuring your cheesecake stays light and fluffy, not dense.

AD — Mediavine Content 300×250 / Responsive

Getting That Perfect Graham Cracker Crust

Crafting the Cloud-Like Cheesecake Filling

Making Your Easy No-Bake Cheesecake a Success

Make It Yours

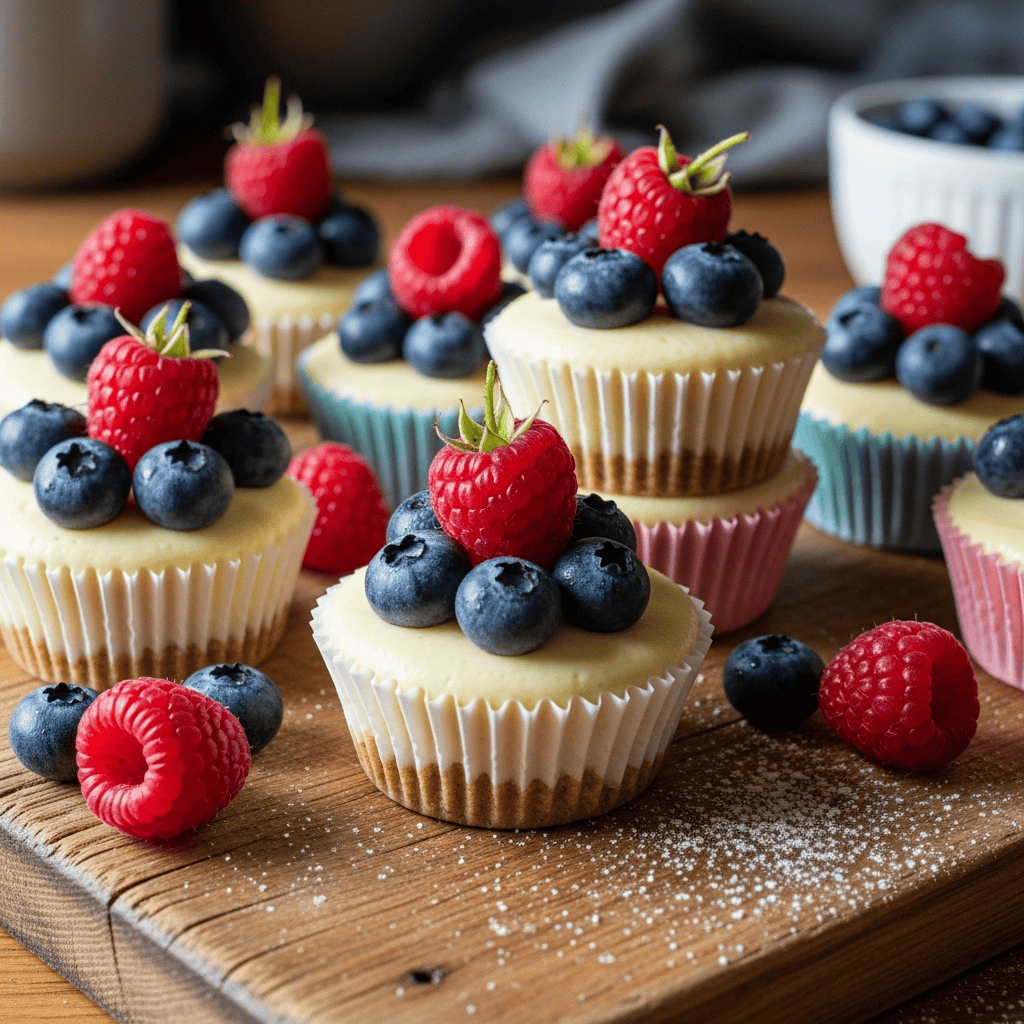
  • Berry Burst Topping — Instead of cherry sauce, try simmering a cup of mixed berries (fresh or frozen) with a tablespoon of sugar and a squeeze of lemon juice until thickened. Let it cool completely before spooning over slices. Raspberry or strawberry are fantastic choices!
  • Lemon Zest Brightness — For a brighter, tangier cheesecake, add 1-2 teaspoons of fresh lemon zest to the cream cheese mixture along with the vanilla. It really livens up the flavor without making it sour.
  • Chocolate Lovers’ Dream — Fold 1/2 cup of mini chocolate chips into the filling just before spreading it into the crust. You could also drizzle melted chocolate over the top before chilling for an extra indulgent touch.
  • Cookie Crust Swap — Not a graham cracker fan? Try using vanilla wafers or even crushed shortbread cookies for the crust instead. Just follow the same butter and sugar ratios.
AD — Mediavine Content / Native

FAQ

How long does no-bake cheesecake last in the fridge?

You can keep this cheesecake tightly covered in the refrigerator for up to 3-4 days. It actually tastes even better the second day, once all the flavors have had a chance to meld!

Can I freeze no-bake cheesecake?

Absolutely! To freeze, place the entire cheesecake (uncovered) in the freezer for about an hour until firm. Then, wrap it tightly in plastic wrap and then aluminum foil. It will keep well for up to one month. Thaw in the refrigerator for several hours or overnight before serving.

Why is my no-bake cheesecake not setting?

The most common reasons are not whipping the heavy cream to stiff peaks, or not chilling the cheesecake long enough. Ensure your cream cheese is properly softened before mixing, and always allow at least 6 hours (preferably overnight) in the fridge for it to fully firm up.

Can I use low-fat cream cheese or yogurt?

While you can technically use them, I really recommend sticking to full-fat cream cheese and heavy whipping cream for the best texture and stability. The fat content is crucial for the cheesecake to set properly and have that rich, creamy mouthfeel. The non-fat Greek yogurt is okay, but full-fat cream cheese is key.

AD — Mediavine 728×90 Leaderboard / Responsive

What To Serve With This

  • Fresh Berries (strawberries, blueberries, raspberries)
  • Chocolate Sauce
  • Caramel Sauce
  • Whipped Cream (extra!)
  • A dusting of powdered sugar

This post contains affiliate links. We may earn a small commission at no extra cost to you.

More Recipes You'll Love

Tested twice, weeknight-ready, family-approved.