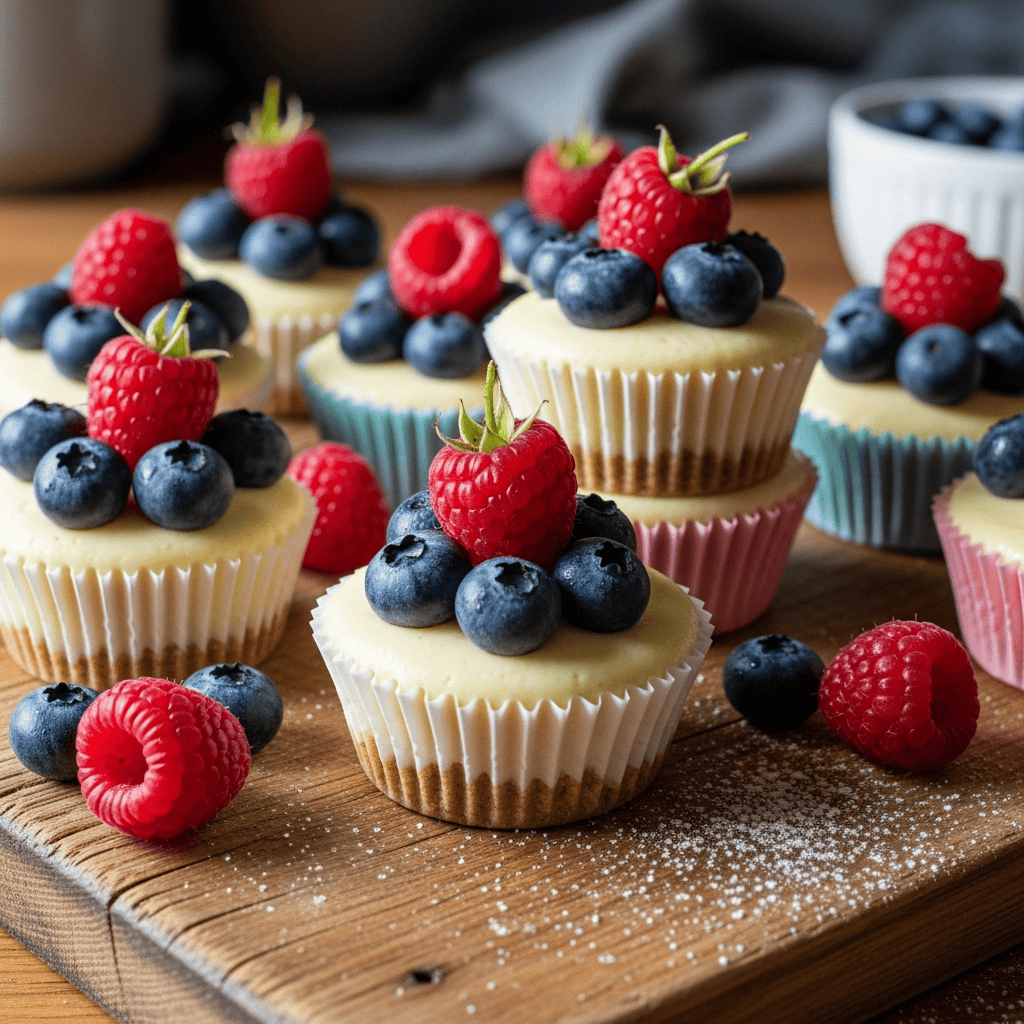
If you’re looking for an easy, impressive dessert, these mini no-bake cheesecakes are absolutely IT. Seriously, they deliver all the creamy, dreamy satisfaction of a classic cheesecake with hardly any fuss. As a busy parent myself, I know how hard it is to find time for baking, so I spent ages perfecting this recipe to make it as simple as possible. You get individual portions, which makes serving a breeze, and they look so adorable on a platter.
These little beauties are perfect for last-minute gatherings or just a sweet treat after a long day. The crust is simple to press together, and the filling comes together in minutes. Plus, the best part? No water bath, no cracking, and no stressing over oven temperatures. Just mix, chill, and enjoy! I’ve tested these mini no-bake cheesecakes so many times, and they always disappear fast.
Why These Mini No-Bake Cheesecakes Will Be Your New Favorite Dessert
Okay, let’s chat about why this recipe is about to become a staple in your kitchen. First off, no oven! Seriously, who wants to turn on the oven for hours when you’re already juggling a million things? This recipe largely skips that step (the crust bake is optional and super fast), meaning less heat in your kitchen and less stress for you. The chilling time is hands-off, letting you focus on other things while dessert takes care of itself. And because they’re individual, there’s no messy slicing or serving. Just grab and go! Plus, the portion control is great – everyone gets their own little creamy treat. The texture is so light and airy, thanks to the whipped cream folded into the rich cream cheese base. It’s not too heavy, which is exactly what you want after a busy day. They truly taste like a gourmet dessert, but they’re incredibly simple to assemble. You just can’t beat that combo.
Pro Tips for Making the Best No-Bake Cheesecakes
I’ve made these more times than I can count, and I’ve picked up a few tricks along the way that I think will help you out!
- Room Temp is Key: Please, please, please make sure your cream cheese, sour cream, and yogurt are truly at room temperature. This is the secret to a smooth, lump-free filling. If they’re cold, you’ll end up with tiny bits of cream cheese that just won’t blend. I usually take mine out at least an hour before I plan to start.
- Pack That Crust: Don’t be shy when pressing down the graham cracker crust. The firmer you pack it, the less crumbly it will be when you bite into it. I like to use the bottom of a small glass or even a shot glass to really get it packed in there.
- Whip Cream to Stiff Peaks: For that light, airy filling, your heavy cream needs to be whipped to stiff peaks. This means when you lift the whisk, the peaks stand up straight and hold their shape. If it’s too soft, your filling might be a little too loose.
- Gently Fold: When you add the whipped cream to the cream cheese mixture, fold it gently. The goal is to incorporate it without deflating all the air you just worked to get into it. This keeps the cheesecake light and fluffy.
- Chill Time is Non-Negotiable: I know it’s tempting to dig in early, but that 3-hour chill time is essential for the cheesecakes to set properly. If you rush it, they might not hold their shape as well when you take them out of the liners. Plan ahead, and you’ll be so glad you did!
Easy Make-Ahead & Storage for Busy Lives
One of the best things about these mini no-bake cheesecakes is how amazing they are for making ahead. You can whip them up a day or two before you need them, cover them loosely in the muffin tins, and keep them chilling in the fridge. This makes entertaining or just having a ready-made dessert so much simpler. If you’re making them further in advance, you can even freeze them! Once they’re fully set, pop them out of the liners, place them on a baking sheet, and freeze until solid. Then transfer them to an airtight container or freezer bag for up to a month. Just thaw in the fridge for a few hours before serving. They stay fresh and delicious for about 5 days in the refrigerator, covered. They are truly the perfect dessert to have on hand for those unexpected sweet cravings or when friends drop by.