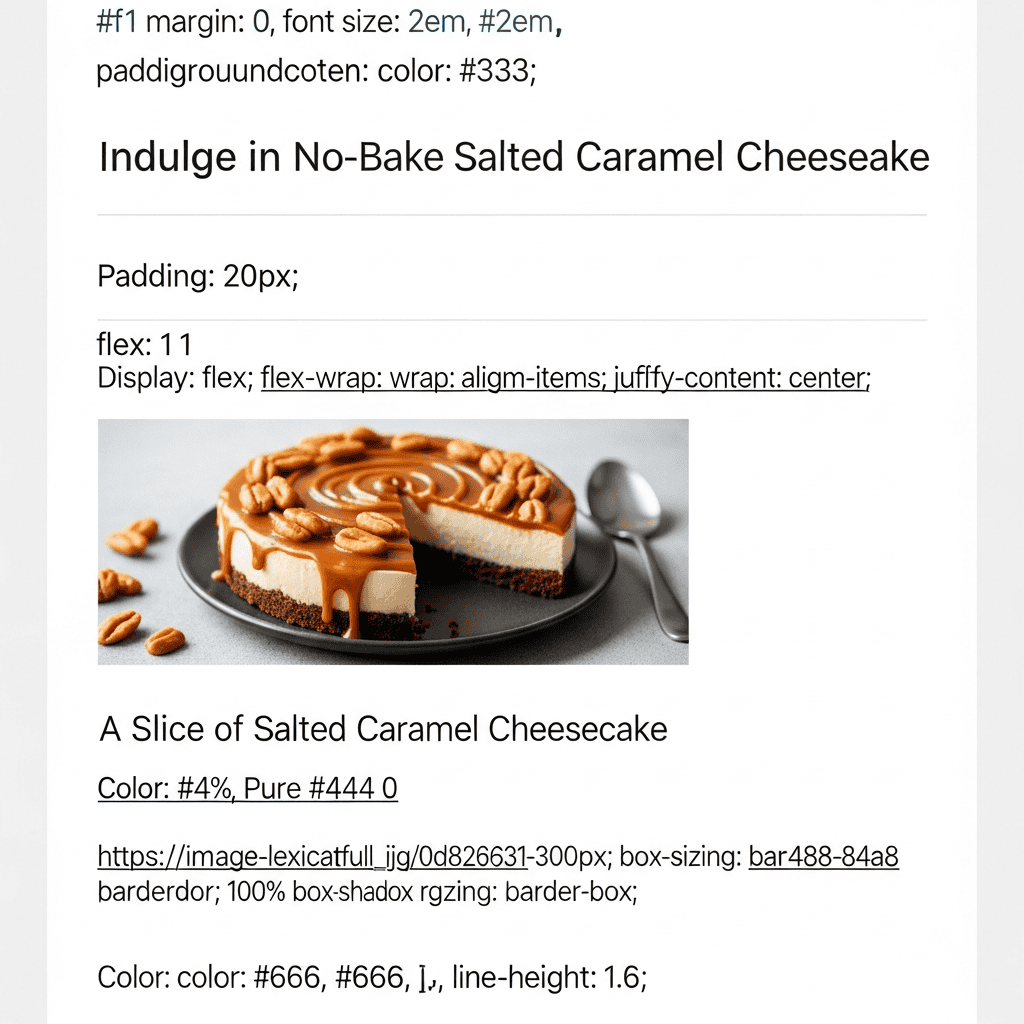
Okay, friends, I’ve got to tell you about this no bake salted caramel cheesecake I just whipped up. Seriously, it’s one of those desserts that looks like you spent hours on it, but takes practically no time to put together. I was craving something sweet, but also didn’t want a huge mess or to deal with the oven. This recipe absolutely delivered! It’s so smooth and creamy, with that perfect balance of sweet and salty. You’ll want to keep this recipe in your back pocket for potlucks, birthdays, or just when you need a little pick-me-up.
I tested this a few times to get the ratios just right, and it sets beautifully every single time. The base comes together in minutes, and the filling is just a quick mix in one bowl. The hardest part is waiting for it to chill, but every minute is truly worth it. Plus, it’s super versatile if you want to swap out the toppings. Get ready to impress everyone with minimal effort – that’s my kind of dessert magic!
Making Your No Bake Salted Caramel Cheesecake Crust
The crust for this no bake salted caramel cheesecake comes together so fast, it’s almost magic! I’m a big fan of using digestive biscuits here because they have that perfect slightly sweet, slightly savory crunch, which pairs perfectly with the caramel. But honestly, if you have graham crackers in the pantry, those work beautifully too! Just toss your biscuits (or crackers) into your food processor and give it a few pulses until you’ve got nice, fine crumbs. No big chunks, we want a smooth base. Then, pour in your melted unsalted butter and that first two tablespoons of gorgeous salted caramel sauce. Pulse it again until everything is perfectly damp and looks a lot like wet sand that holds together when you pinch it. This is key for a sturdy crust! Tip this mixture into your 9-inch springform pan and use the back of a spoon or a flat-bottomed measuring cup to press it down firmly and evenly across the bottom. Get it nice and compact! Pop this pan into the fridge for about 30 minutes. That quick chill really helps the crust firm up and keeps it from getting crumbly when you eventually slice into your beautiful cheesecake.
Whipping Up the Creamy Filling and Chilling
Alright, now for the star of the show – the smooth, dreamy, creamy filling! This part is truly super simple, but there’s one non-negotiable step: make sure your full-fat cream cheese is at room temperature and nicely softened. This makes all the difference in getting a lump-free, silky smooth filling that melts in your mouth. Seriously, don’t skip that! Grab your mixer – a stand mixer or a hand mixer works great – and beat the softened cream cheese with the second two tablespoons of luscious salted caramel sauce, the powdered sugar, and a generous splash of vanilla extract. Beat it on medium speed until it’s light, fluffy, and completely smooth. Make sure to scrape down the sides of the bowl a few times to ensure everything gets perfectly incorporated. Once your crust has had its little chill time and feels nice and firm, carefully spoon this glorious filling right over it. Use the back of a spoon or an offset spatula to gently smooth out the top. You want a nice, even layer. Now, for the hardest part: waiting! This cheesecake absolutely needs at least four hours in the fridge to set up properly. I usually aim for overnight if I can, as it makes slicing so much easier and gives it the best firm texture. If you’re a super planner, this cheesecake freezes beautifully for up to three months! Just remember to let it thaw overnight in the fridge before you plan to serve it. The anticipation is worth it!