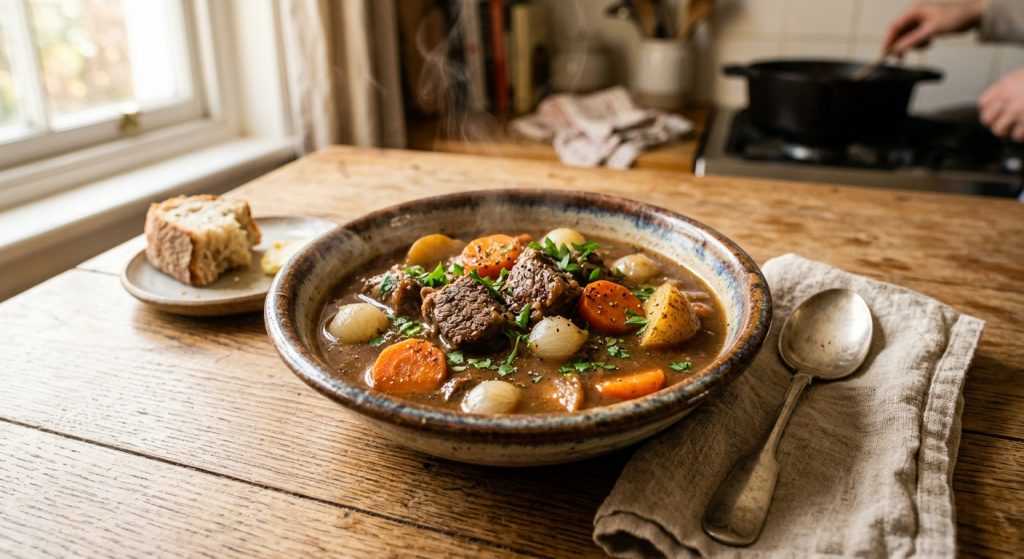
When life gets hectic, a truly comforting meal like this instant pot beef stew can feel like a warm hug. Seriously, I’ve been making this one on repeat lately, and it’s become a go-to in my kitchen for those evenings when I need something hearty but just don’t have hours to stand over the stove. It hits all the right notes: tender beef, flavorful broth, and plenty of veggies.
I’ve tested this recipe a bunch of times, tweaking it just right so it’s super easy and comes out perfect every single time. You get all the rich, slow-cooked taste you crave from a classic beef stew, but in a fraction of the time thanks to our trusty Instant Pot. The beef just melts in your mouth, and the vegetables are cooked to tender perfection without being mushy. It’s a winner, especially for the whole family!
Building Deep Flavor: Browning Your Beef for Instant Pot Beef Stew
Starting any good stew, especially an instant pot beef stew, means taking a little time to brown your meat. This step might seem like an extra minute, but it’s absolutely crucial for developing a rich, complex flavor that you just can’t skip. When those beef cubes hit the hot butter, they start to caramelize, creating what cooks call the Maillard reaction. This reaction gives the meat a deep, savory crust and a beautiful color that translates into a more flavorful final stew.
My advice? Don’t rush this part. Your Instant Pot’s sauté function is perfect for it. Heat the butter until it’s really shimmering, almost to the point of lightly smoking. Then, add your floured beef in a single layer if you can, or in batches if your pot is smaller. Giving the meat space allows it to brown instead of just steaming. Let it sit for a few minutes without moving it, then flip to get all sides. You’ll see a lovely brown crust forming, which is exactly what we want. Don’t worry if a few floury bits stick to the bottom of the pot; we’ll use those delicious scraps later.
Layering Aromatics and Vegetables for a Wholesome Stew
After you’ve browned the beef and deglazed the pot with broth (that’s when you scrape up all those flavorful brown bits from the bottom – so important!), it’s time to add the rest of the liquid magic. Whisk in the Worcestershire sauce, soy sauce, a touch of brown sugar, minced garlic, tomato paste, and your dried herbs like rosemary and thyme. Each of these ingredients plays a role in building a complex, savory base for your instant pot beef stew. The tomato paste adds depth, the Worcestershire and soy provide umami, and the brown sugar balances it all with a hint of sweetness.
Then come the vegetables! I love using a bag of frozen pearl onions for convenience here; there’s no chopping, and they cook up perfectly tender. For the carrots and potatoes, make sure to cut them into roughly one-inch pieces. This ensures they cook evenly and are tender but not mushy by the time the stew is done. Russet potatoes are fantastic in stews because they absorb all those delicious flavors while holding their shape well. Give everything a good stir to make sure the vegetables are nestled into the broth and seasonings before you seal the lid.
The Magic of Pressure Cooking: Setting and Releasing Your Instant Pot Beef Stew
This is where your Instant Pot really shines for beef stew. Once you’ve got all your ingredients in the pot and the lid is sealed, make sure that steam release valve is set to ‘Sealing.’ Then, hit the ‘Meat/Stew’ button, or set it manually to High Pressure for 35 minutes. That’s it! The machine takes over and works its magic, transforming tough cuts of beef into incredibly tender, fall-apart morsels in a fraction of the time it would take on the stovetop or in a slow cooker.
Once the 35 minutes are up, the most important part for a perfectly tender beef stew is allowing for a natural pressure release. Don’t be tempted to manually vent the steam right away! Natural release means you just let the Instant Pot sit there, gradually losing pressure on its own. This slow release helps the meat stay incredibly juicy and prevents it from drying out or becoming stringy. It typically takes about 10-15 minutes, but you can go tidy up the kitchen or help with homework in the meantime. Once the float valve drops, you’re good to go. Carefully open the lid, give it a stir, and get ready for a delicious meal!