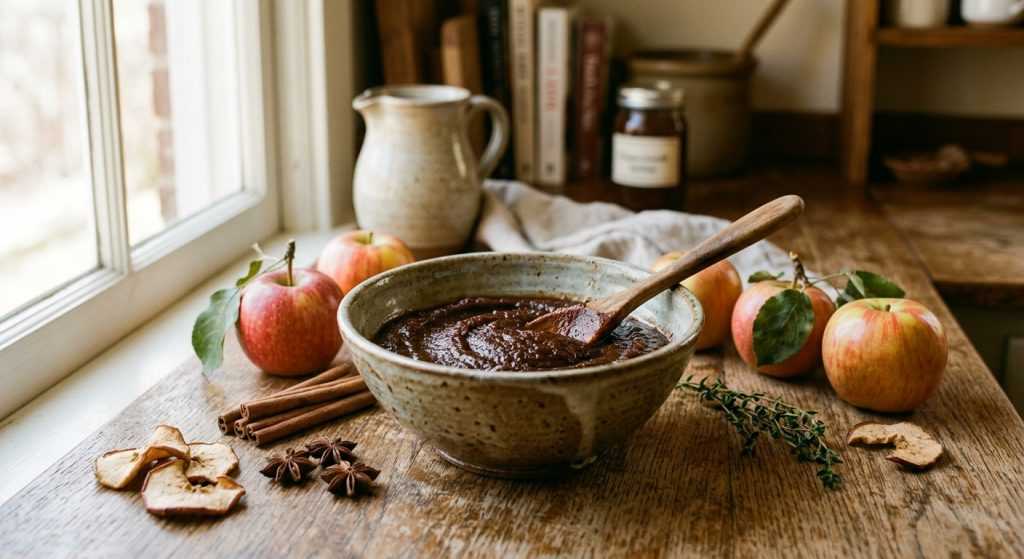
Oh my goodness, friends, if there’s one thing that screams cozy fall vibes, it’s a batch of warm, fragrant slow cooker apple butter bubbling away in the kitchen. I whipped this up last weekend, and let me tell you, the smell alone made our whole house feel like a hug. It’s truly one of those recipes that feels like a labor of love but actually requires minimal effort, making it ideal for when you’re juggling a million things but still want to create something special for your family.
Seriously, this recipe is incredibly forgiving and uses just a handful of ingredients. You basically chop some apples, toss them in with a few spices and sugars, and your slow cooker does all the heavy lifting. The result is this incredibly rich, dark, and deeply flavorful spread that tastes amazing on everything from toast to pork chops. It’s a wonderful way to use up a big haul of apples, too, whether you picked them yourself or just grabbed a huge bag at the grocery store.
Getting Started: Picking the Perfect Apples for Your Slow Cooker Apple Butter
Okay, let’s talk apples! The foundation of truly amazing slow cooker apple butter is, well, the apples themselves. You want a good mix, typically. For this recipe, I suggest a combination like Honeycrisp, Gala, or Ambrosia. Honeycrisps give you a lovely sweetness and a bit of tartness, while Galas are super reliable and break down beautifully. Ambrosias are also great for a sweet, mellow flavor. Avoid apples that are too watery or too tart if you don’t want to adjust the sugar significantly. The goal here is about 3 pounds of apples once they’re peeled and cored. Don’t worry too much about perfection in your chopping; roughly 1-inch pieces are fine because they’re going to completely soften and melt together during the slow cooking process. Just make sure they’re fairly uniform so they cook down at the same rate. This first step might feel like the most “active” part of the whole recipe, but once those apples are prepped, the hardest part is over. It’s totally worth a few minutes of peeling and coring for the incredible flavor you’re about to create!
The beauty of this recipe is how simple the seasoning is, letting the natural apple flavor shine through. We’re using a blend of raw sugar and light brown sugar – the raw sugar adds a little textural crystal and a deeper molasses note, while the light brown sugar brings that classic caramel-like sweetness we all love. Don’t skip the spices either! Cinnamon is a given with apples, of course, but that tiny bit of allspice and nutmeg really rounds everything out, giving it that warm, comforting depth. It’s just enough to make you think “fall” without overwhelming the fruit. When you toss everything into the slow cooker, you’ll see how quickly the sugars start to dissolve and coat the apple pieces. This initial mixing ensures all those gorgeous flavors infuse into every single piece of apple right from the start. You’ll already be getting hints of the amazing aroma to come!
The Magic of Slow Cooking: First Phase
Now for the fun part – letting your slow cooker do all the work! Once your apples are coated with the sugars and spices, pop the lid on and let the gentle heat transform them. I’ve tested this on both high and low settings. If you’re starting this in the morning before school drop-off or work, the 10-hour low setting is perfect. You can literally set it and forget it for most of the day, only needing to give it a stir around lunchtime or when you get home. If you’re making it on a weekend and want to speed things up a bit, the 5-hour high setting works just as well. Either way, you’ll want to peek in and give it a stir about halfway through. This isn’t just to be nosey; it helps ensure even cooking and prevents any apples from sticking to the bottom, though sticking isn’t usually a big issue with such a moist mixture.
What you’re looking for at the end of this first cooking phase is incredibly tender apples. They should be so soft that they easily squish with the back of a spoon. The color will also have changed dramatically – from bright, crisp apple chunks to a deep, golden-brown, almost caramelized hue. This color change is a good indicator that the sugars have fully melted and integrated, and the apples have released most of their moisture. The aroma filling your kitchen will be absolutely heavenly at this point, you’ll see! It’s that warm, spicy, sweet scent that just makes you want to curl up with a blanket and a good book. This long, slow cooking process is what gives apple butter its characteristic rich flavor and deep color, so don’t rush it. Patience here truly pays off with a superior product.
Pureeing and Thickening Your Apple Butter
After the first cooking stage, you’ll have a beautifully soft, fragrant apple “sauce” that’s almost ready to become proper apple butter. The next step is pureeing. An immersion blender is your best friend here! You can just stick it right into the slow cooker and blend until everything is silky smooth. It takes mere minutes. If you don’t have one, no worries! Carefully spoon the hot apple mixture into a regular blender or food processor. Just be super careful when blending hot liquids – don’t overfill the blender, and start on a low speed with the lid slightly ajar to let steam escape (or use the removable cap in the lid). Once it’s perfectly smooth, pour it back into your slow cooker. The goal is a uniform consistency with no chunks, just pure, velvety apple goodness.
Once pureed, we enter the final cooking phase, and this is where the magic really happens to create that classic apple butter texture. This time, you’ll leave the lid OFF your slow cooker. Cooking uncovered on HIGH for another 2 hours allows the remaining moisture to evaporate, concentrating the flavors and thickening the apple butter to that perfect spreadable consistency. You’ll need to stir it occasionally during this stage, maybe every 20-30 minutes, to prevent it from sticking to the bottom as it thickens. It will start to bubble gently, and you’ll see it change from a somewhat loose puree to a glossy, dense spread that holds its shape a bit more on a spoon. The color will also deepen further, becoming that iconic rich, dark brown. Keep an eye on it – you’re looking for a consistency that coats the back of a spoon thickly and doesn’t run off easily. This last step is crucial for achieving that amazing, jam-like texture, so don’t skip it!