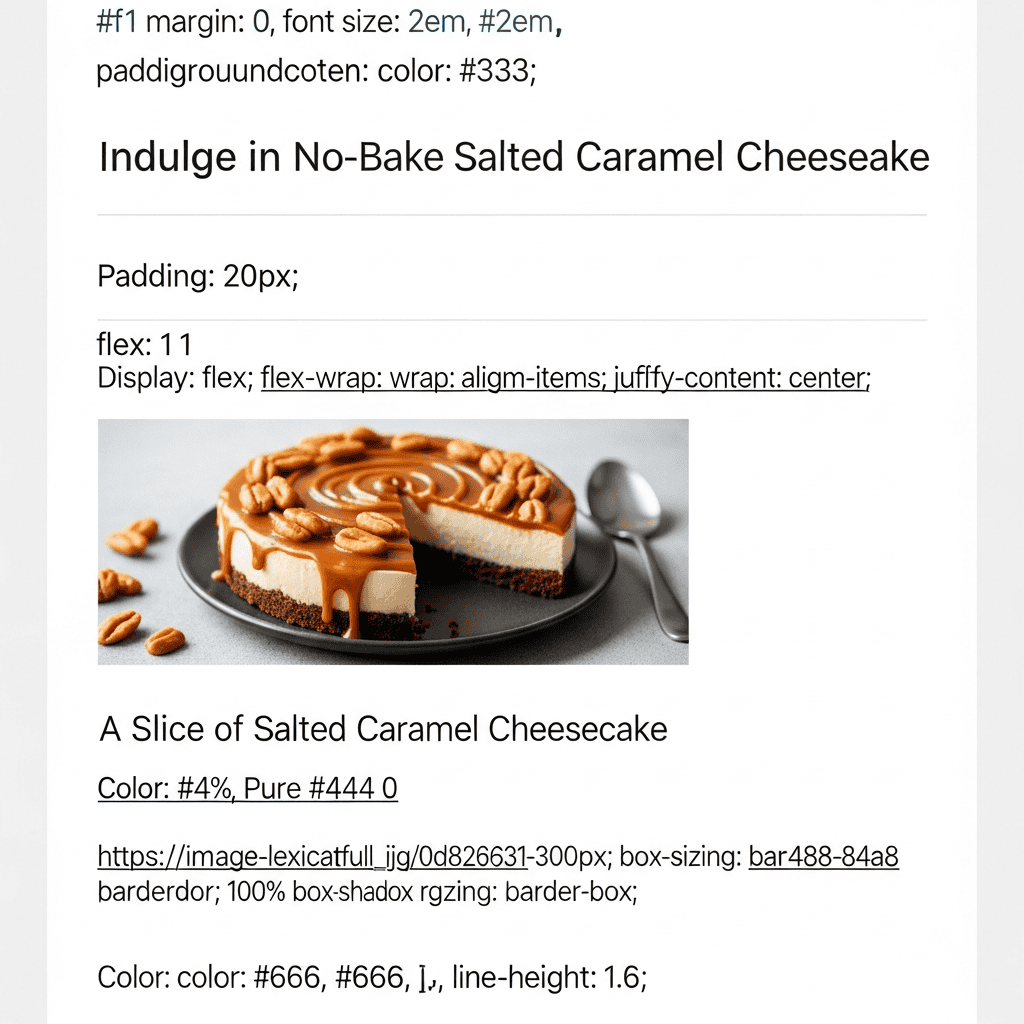
Easy No Bake Salted Caramel Cheesecake (Seriously Simple!)

TOTAL TIME
SERVES
COURSE
DIFFICULTY
Tested5× before publishing

Okay, friends, I’ve got to tell you about this no bake salted caramel cheesecake I just whipped up. Seriously, it’s one of those desserts that looks like you spent hours on it, but takes practically no time to put together. I was craving something sweet, but also didn’t want a huge mess or to deal with the oven. This recipe absolutely delivered! It’s so smooth and creamy, with that perfect balance of sweet and salty. You’ll want to keep this recipe in your back pocket for potlucks, birthdays, or just when you need a little pick-me-up.

I tested this a few times to get the ratios just right, and it sets beautifully every single time. The base comes together in minutes, and the filling is just a quick mix in one bowl. The hardest part is waiting for it to chill, but every minute is truly worth it. Plus, it’s super versatile if you want to swap out the toppings. Get ready to impress everyone with minimal effort – that’s my kind of dessert magic!

Making Your No Bake Salted Caramel Cheesecake Crust

The crust for this no bake salted caramel cheesecake comes together so fast, it’s almost magic! I’m a big fan of using digestive biscuits here because they have that perfect slightly sweet, slightly savory crunch, which pairs perfectly with the caramel. But honestly, if you have graham crackers in the pantry, those work beautifully too! Just toss your biscuits (or crackers) into your food processor and give it a few pulses until you’ve got nice, fine crumbs. No big chunks, we want a smooth base. Then, pour in your melted unsalted butter and that first two tablespoons of gorgeous salted caramel sauce. Pulse it again until everything is perfectly damp and looks a lot like wet sand that holds together when you pinch it. This is key for a sturdy crust! Tip this mixture into your 9-inch springform pan and use the back of a spoon or a flat-bottomed measuring cup to press it down firmly and evenly across the bottom. Get it nice and compact! Pop this pan into the fridge for about 30 minutes. That quick chill really helps the crust firm up and keeps it from getting crumbly when you eventually slice into your beautiful cheesecake.

Whipping Up the Creamy Filling and Chilling

Alright, now for the star of the show – the smooth, dreamy, creamy filling! This part is truly super simple, but there’s one non-negotiable step: make sure your full-fat cream cheese is at room temperature and nicely softened. This makes all the difference in getting a lump-free, silky smooth filling that melts in your mouth. Seriously, don’t skip that! Grab your mixer – a stand mixer or a hand mixer works great – and beat the softened cream cheese with the second two tablespoons of luscious salted caramel sauce, the powdered sugar, and a generous splash of vanilla extract. Beat it on medium speed until it’s light, fluffy, and completely smooth. Make sure to scrape down the sides of the bowl a few times to ensure everything gets perfectly incorporated. Once your crust has had its little chill time and feels nice and firm, carefully spoon this glorious filling right over it. Use the back of a spoon or an offset spatula to gently smooth out the top. You want a nice, even layer. Now, for the hardest part: waiting! This cheesecake absolutely needs at least four hours in the fridge to set up properly. I usually aim for overnight if I can, as it makes slicing so much easier and gives it the best firm texture. If you’re a super planner, this cheesecake freezes beautifully for up to three months! Just remember to let it thaw overnight in the fridge before you plan to serve it. The anticipation is worth it!
AD — Mediavine Content 300×250 / Responsive

Why This Recipe Works

This recipe works so well because it balances the rich, tangy cream cheese with the sweet and salty punch of the caramel. The biscuit base provides a nice crunch, contrasting with the silky filling. And because it's no-bake, you avoid any cracking that can happen with traditional baked cheesecakes, making it foolproof for a showstopper dessert that’s perfect for the whole family.

This cheesecake looks like a million bucks, but it's really just a simple mix and chill. It’s seriously the best dessert for when you need something impressive without the fuss.— Charlotte
AD — Mediavine Native / 728×90 Leaderboard

Prep 20 minutesCook 0 minutesYield 10 servings
Ingredients
  • 250g (about 9 oz) digestive biscuits, crushed (or graham crackers)
  • 125g (about 1 stick + 1 tbsp) unsalted butter, melted
  • 7 tbsp salted caramel sauce, divided
  • 750g (three 8-oz blocks) full-fat cream cheese, softened
  • 3 tbsp powdered sugar
  • 1 tsp vanilla extract
  • Handful chocolate-covered malted milk balls, crushed slightly for topping
  • 20g (about 0.7 oz) chocolate-covered honeycomb, chopped for topping
Instructions
  1. Prepare the Crust In a food processor, pulse the digestive biscuits until they form fine crumbs. Add the melted butter and 2 tablespoons of the salted caramel sauce, then pulse again until the mixture is damp and sandy. Press this mixture firmly and evenly into the base of a 9-inch (20cm) springform cake tin. Place the tin in the fridge to chill for 30 minutes while you make the filling.
  2. Make the Filling In a large bowl with an electric mixer, beat the softened full-fat cream cheese until smooth. Add 2 more tablespoons of the salted caramel sauce, the powdered sugar, and the vanilla extract. Beat until the mixture is completely smooth and creamy, scraping down the sides of the bowl as needed. Once the crust is chilled, spoon the cheesecake filling over the top and gently smooth it out with the back of a spoon or an offset spatula. Cover the cheesecake and chill in the fridge for at least 4 hours, or ideally overnight, until it is fully set.
  3. Chill and Serve Once the cheesecake is firm, carefully remove it from the springform tin and transfer it to a serving platter or cake stand. Scatter the crushed chocolate-covered malted milk balls and chopped chocolate-covered honeycomb over the top. Drizzle with the remaining 3 tablespoons of salted caramel sauce before slicing and serving. Enjoy!
Tested Tip

For the smoothest filling, always use room temperature cream cheese. Cold cream cheese will give you lumps, no matter how much you beat it!

AD — Mediavine Content 300×250 / Responsive

Making Your No Bake Salted Caramel Cheesecake Crust

Whipping Up the Creamy Filling and Chilling

Make It Yours

  • Crust Variations — Not a fan of digestive biscuits? No problem! You can easily swap them for graham crackers, shortbread cookies, or even Oreos (just skip the butter if using Oreos, as the cream acts as a binder). Just make sure you get the same crumb consistency – about 250g or 1 ½ cups of crushed crumbs.
  • Caramel Flavor Swaps — While salted caramel is the star here, feel free to get creative! A good quality dulce de leche would be amazing, or even a homemade caramel sauce with a sprinkle of flaky sea salt added at the end. You could also swirl in some melted chocolate with the caramel for a marble effect, or add a hint of espresso powder to the filling.
  • Topping Ideas — The malted milk balls and honeycomb are fantastic, but don't stop there! Try chopped pecans, a sprinkle of flaky sea salt (always a winner with caramel!), a dollop of whipped cream, or even some fresh berries for a pop of color and freshness. Mini chocolate chips, chocolate shavings, or a light dusting of cocoa powder are also great additions.
  • Individual Servings — Want to make individual desserts for a party or meal prep? Press the crust into the bottom of small ramekins, mason jars, or even cupcake liners in a muffin tin. Then top with the filling and chill. This is perfect for portion control or a super cute, elegant party presentation that guests will love!
AD — Mediavine Content / Native

FAQ

Can I make this cheesecake ahead of time?

Absolutely! This no bake salted caramel cheesecake is perfect for making in advance. You can prepare it up to 2-3 days ahead and keep it covered in the fridge. It even freezes wonderfully for up to three months; just remember to let it thaw overnight in the fridge before serving.

What kind of cream cheese should I use?

For the best results and a firm set, always use full-fat block cream cheese. The spreadable cream cheese in a tub has more water content and won't set as well, which can lead to a softer, less stable cheesecake. Make sure it's at room temperature for a super smooth filling!

My cheesecake isn't setting, what went wrong?

The most common reasons for a no-bake cheesecake not setting are not chilling it long enough, or using low-fat or spreadable cream cheese instead of full-fat blocks. Ensure it gets at least 4 hours, but ideally overnight, in the coldest part of your fridge. Also, verify you used full-fat cream cheese as specified in the ingredients.

Can I use store-bought caramel sauce?

Yes, absolutely! For convenience, a good quality store-bought salted caramel sauce works perfectly. I often use it myself on busy days. If you're feeling ambitious, a homemade salted caramel sauce will definitely add an extra special touch!

AD — Mediavine 728×90 Leaderboard / Responsive

What To Serve With This

  • Black coffee
  • Espresso martini
  • Vanilla bean ice cream
  • Fresh raspberries or strawberries
  • A cold glass of milk

This post contains affiliate links. We may earn a small commission at no extra cost to you.

More Recipes You'll Love

Tested twice, weeknight-ready, family-approved.